Part 3B: Car Windows
Car Windows for Model Vehicles – Step-by-Step Guide!
Learn how to add realistic car windows to your model vehicles with our detailed step-by-step guide. Perfect for N scale (1:160), TT (1:120), Z scale (1:220), and H0 (1:87) modelers. Improve your miniatures with expert tips for precise and authentic results.
Hello and welcome to part 3B of our How-To series! In this part i will show you how you can make rounded windshields in cars. Since cars tend to have large windshields, you of course want these to be realistic. This is how you can make those best.
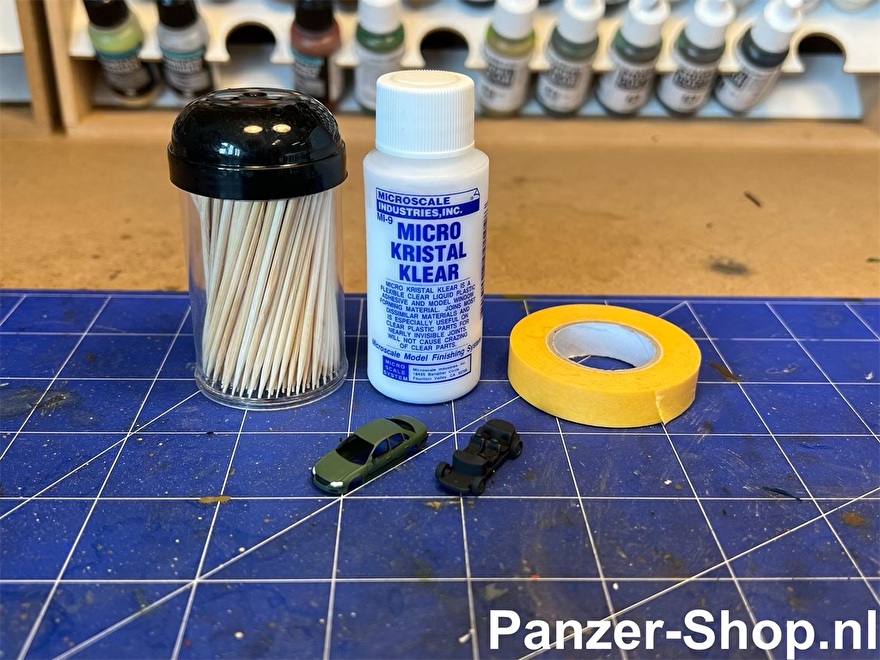
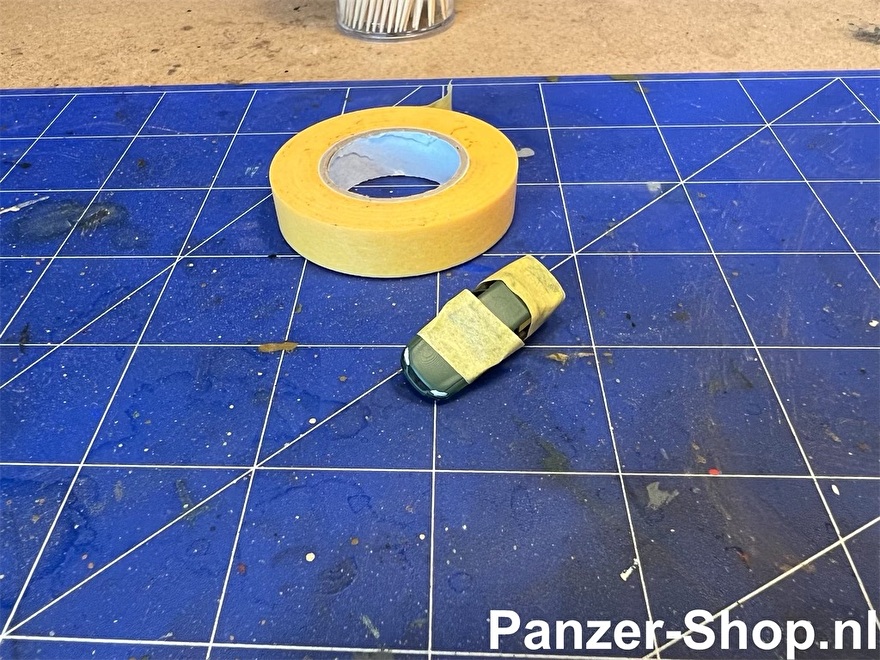
For this we will use our Microscale Kristal Klear (MKK), Skewers and masking tape. All together its a 2 minute process, so its a very quick job.
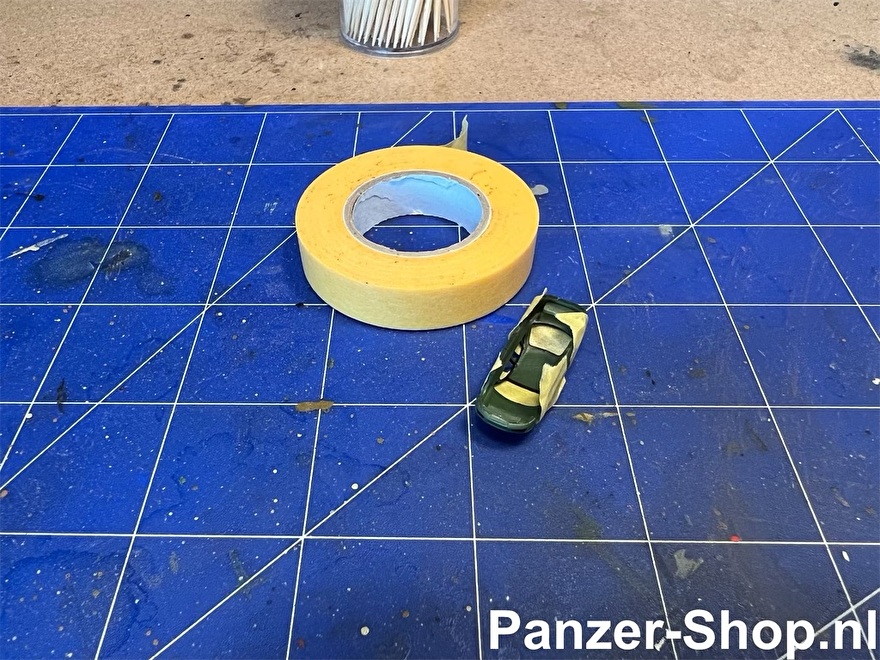
Step 1: Taping Off The Windows
Using the masking tape you have to tape off the outside of the car windows, so that you create the basic shape of the windshield with tape, which is then visible when looking into the bottom of the car. You can to this for the rear window and windshield. Make sure to stick the tape well around the edges so that there are no gaps.The smaller side windows are best to be made using the regular method.
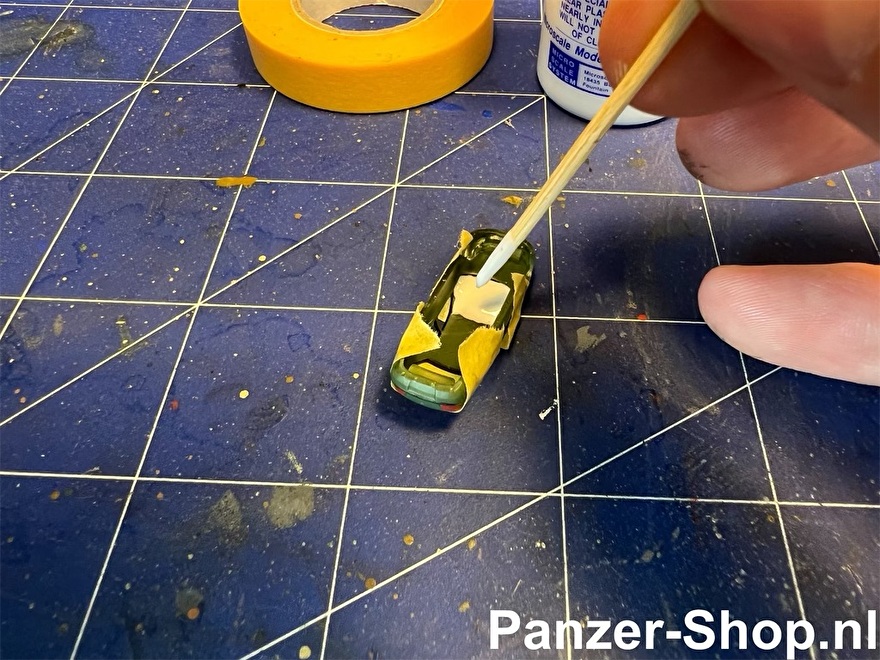
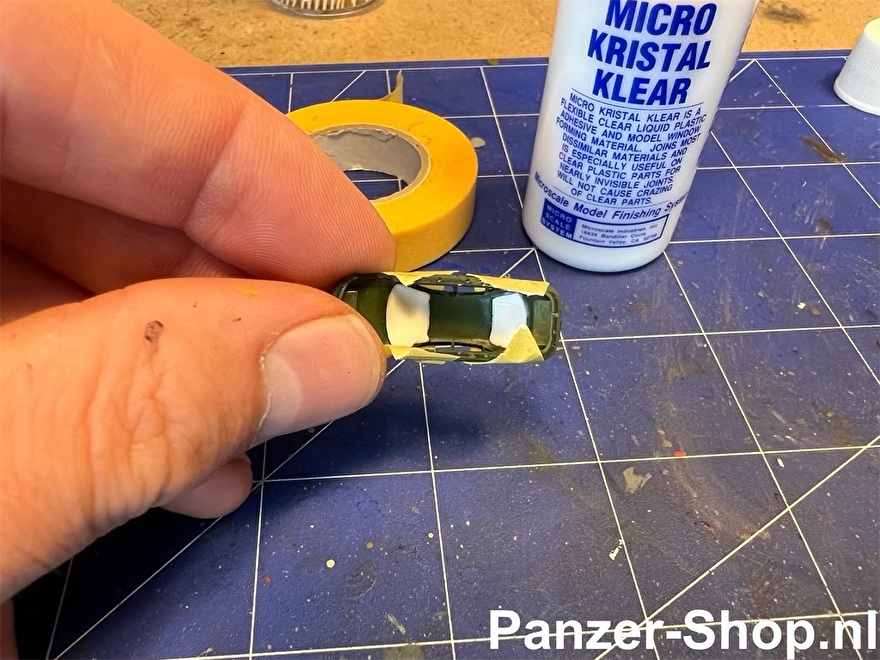
Step 2: ''Painting'' The Tape
When the tape is applied you take a toothpick and put some MKK on the tip. You now ''paint'' over the tape, from the inside of the car, completely covering the visible tape in MKK. Make sure to fill the corners too!
Step 3: Finishing The Windows
And now we wait until the MKK is completely dry. This can take several hours! Once dried you will get a very ''foggy'' result. Thats because the texture of the tape made a pattern on the MKK. We can very easily solve this by making the windshield a bit wet with some clear, clean water. The top will then become a fluid again, to dry up clean and pretty, as it should be.
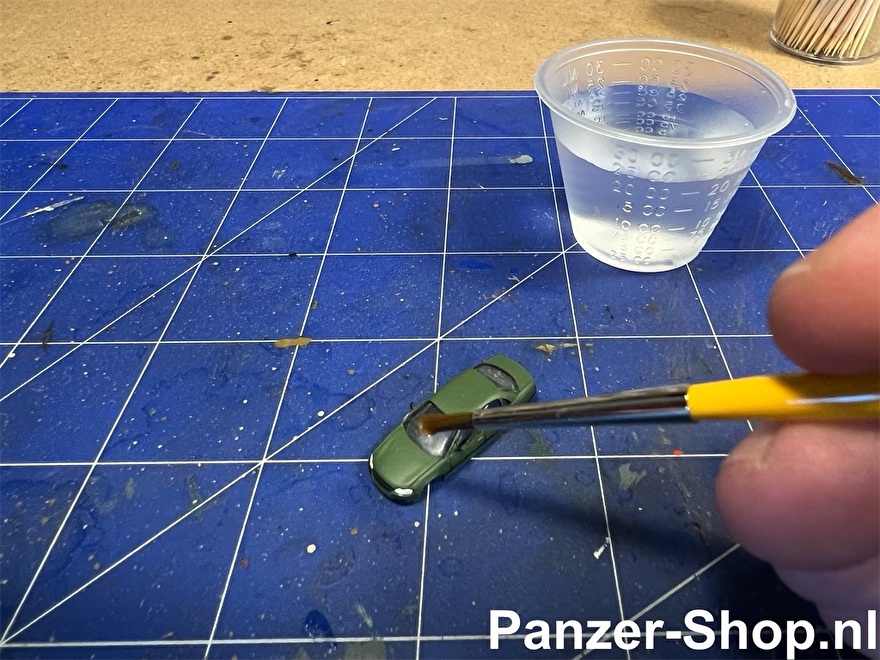
And thats it! This Opel Omega now has a wonderfull windshield for the Figurines to look through. Have fun modelling!