Part 1: Painting Models
Part 1 – Painting Models: Tips for Realistic Miniatures!
Learn how to paint your model vehicles and figurines with expert tips for achieving realistic finishes. Ideal for scales 1:160, 1:120, 1:220, and 1:87. Step-by-step guidance for hobbyists and collectors.
→ Start painting your miniatures like a pro today!
Hello everyone and welcome to my online painting workshop!
I am Kevin, the founder of Panzer-Shop.nl, and I will try to give you a clear explanation today about how I paint our models. At each step I will name the materials used, so that you can find them yourself. In this How-To I use water-based paint, but you can also use Enamel paint. I also use an airbrush for the base color, but it is also fine without, if you don't have one. Then dilute the green paint enough and spread it nice and plenty. The model will absorb some of the paint and a large part will evaporate, so if you dilute it well you can spread nicely.
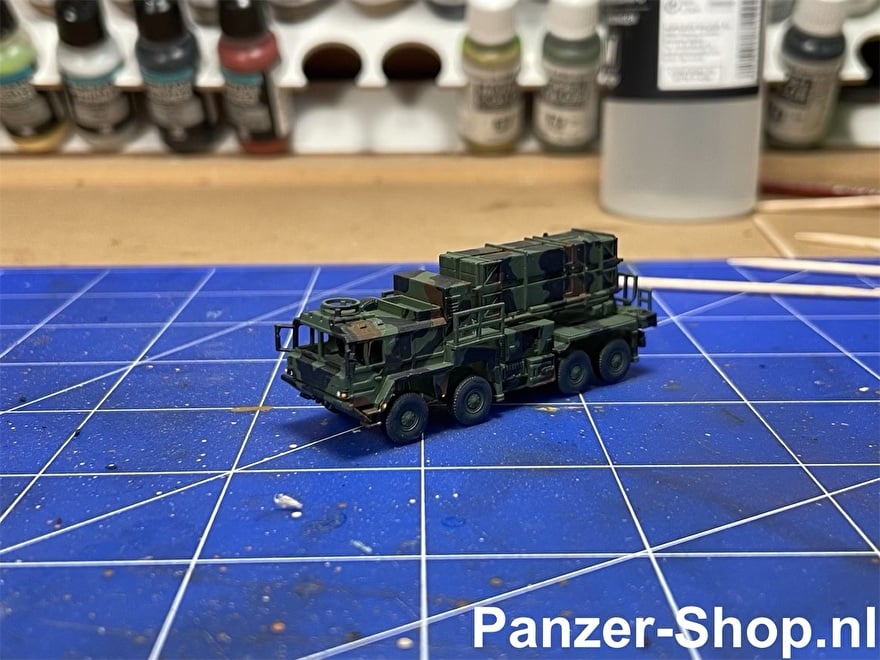
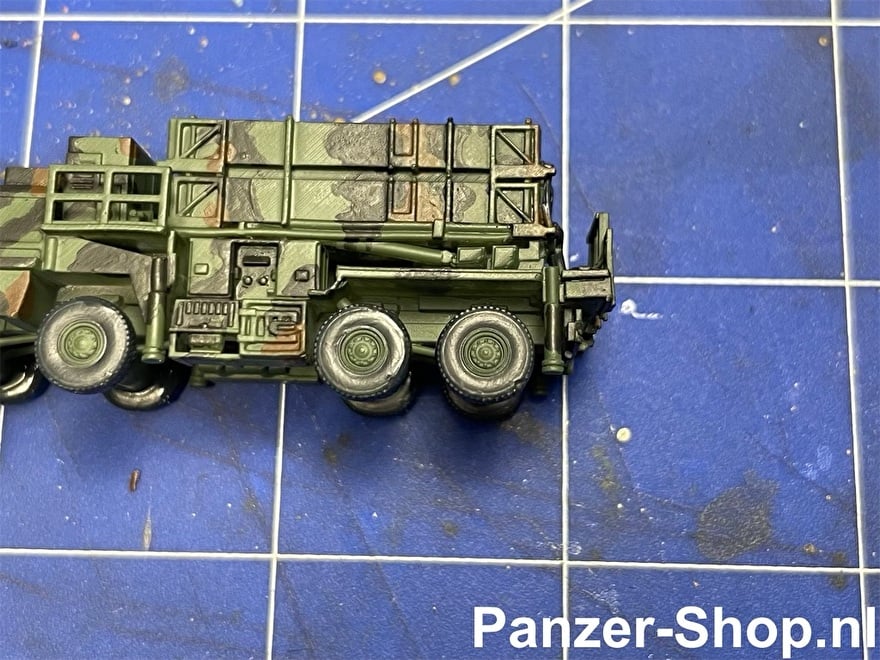
In this How-To I paint a ''MAN KAT1A1 10t 8x8, Patriot Missile MIM-104 SAM'' in scale 1:160, N Gauge. This is a German Bundeswehr vehicle, with camouflage pattern. In the case of an NVA vehicle, for example, you have it easy, because then you only have to make it green and paint details, so that saves a few steps. However, I would like to show the complete process so that everyone can benefit from it. Also remember that none of this is sacred, if you prefer it in a different way or with different material, that's totally fine! I only explain what I like working best.
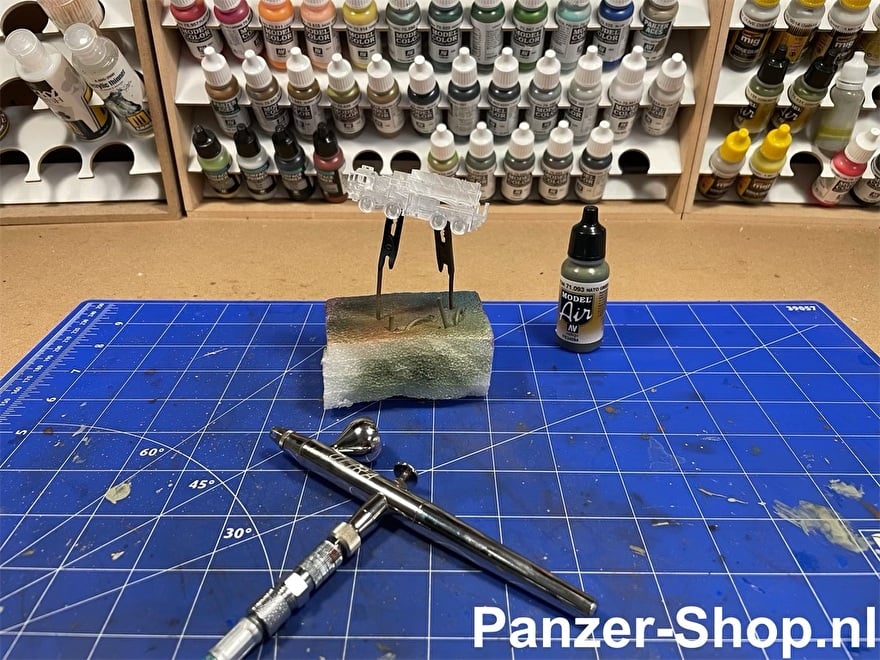
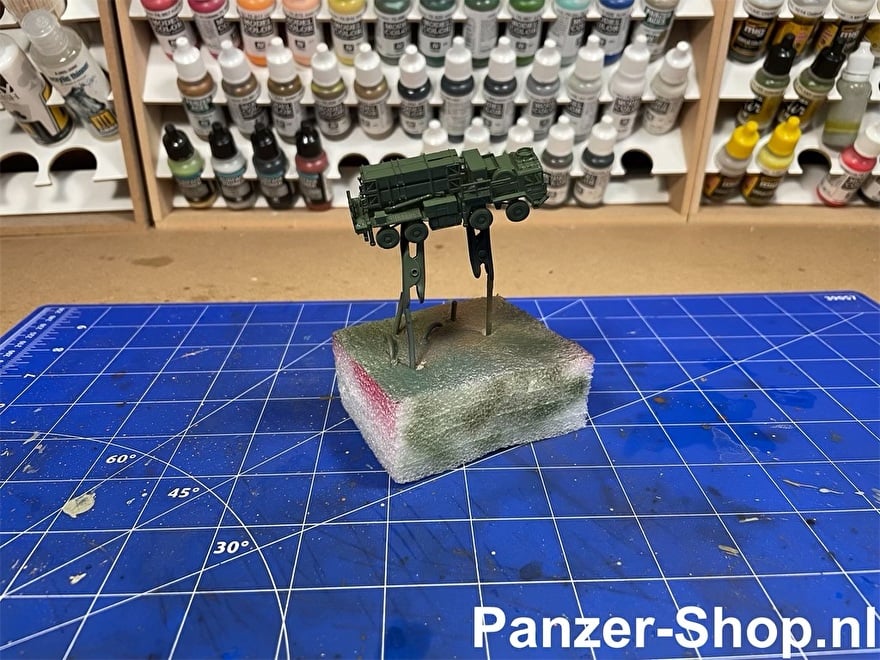
Step 1: The Base Color
Here I use 71,093 ''NATO Green'' from Vallejo. I do not use a primer in this case because our models can often be painted very well without! The resin of the model works great with paint and gives good adhesion by itself. As long as the model is properly grease-free (If needed, cleaning can be done with, for example, Isopropanol), adhesion is usually not a problem.
Depending on the paint you use you might want to use a primer first. If you plan to paint the models without an airbrush it is advisable to first add a primer in all cases to ensure the best paint coverage.
There we go, a green model. This step is not very spectacular and not difficult either. Simply grab the airbrush and go.
Paint Suggestions:
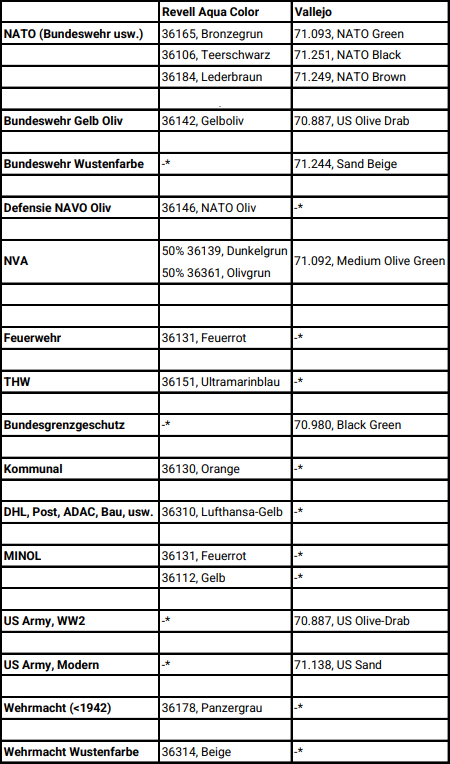
*This paint may be available from this manufacturer but we never used it, so dont know if its recommendable.
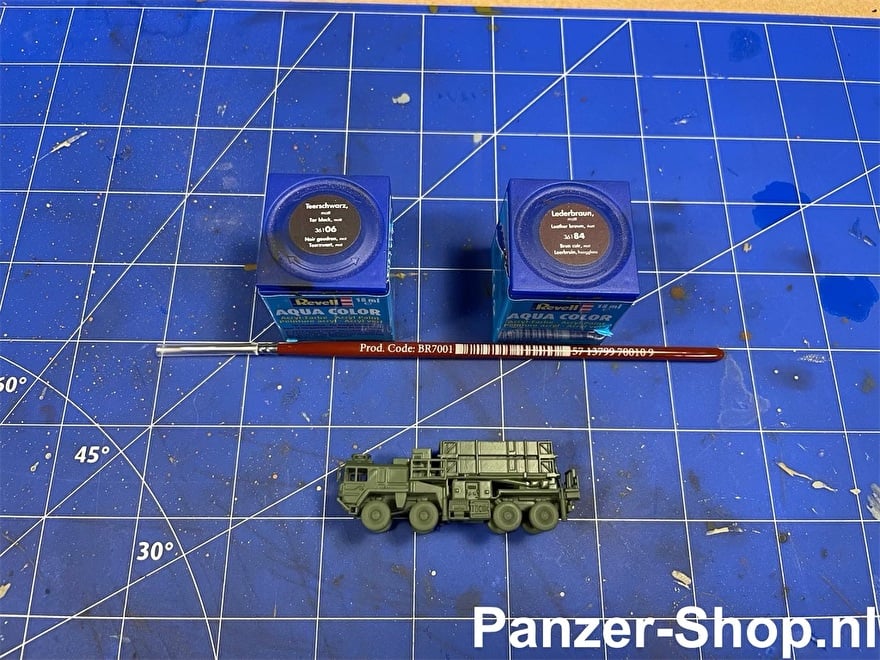
Step 2, Camouflage Colors:
The colors I use here are from Revell Aqua Color. 36106 ''Tar Black'' and 36184 ''Leather Brown''. The colors are of course available from several manufacturers and which one you use comes up to preference, but these colors are correct for the Bundeswehr (And Dutch Landmacht). They also work very nicely. It is very important to dilute these colors with water! Not too thin, they should be slightly thicker than milk. It should stay in place well, but not so well that it's a 3D blob on the model. Proper dilution of the paint is very important.
Here I usually start by painting the contours of the black areas. The base of a NATO vehicle is green, the color that is most often used after that is black, followed by some brown here and there. In France, for example, they use more of a 33/33/33% ratio, but we are making a German vehicle, not a French one. A good fine brush also helps a lot!
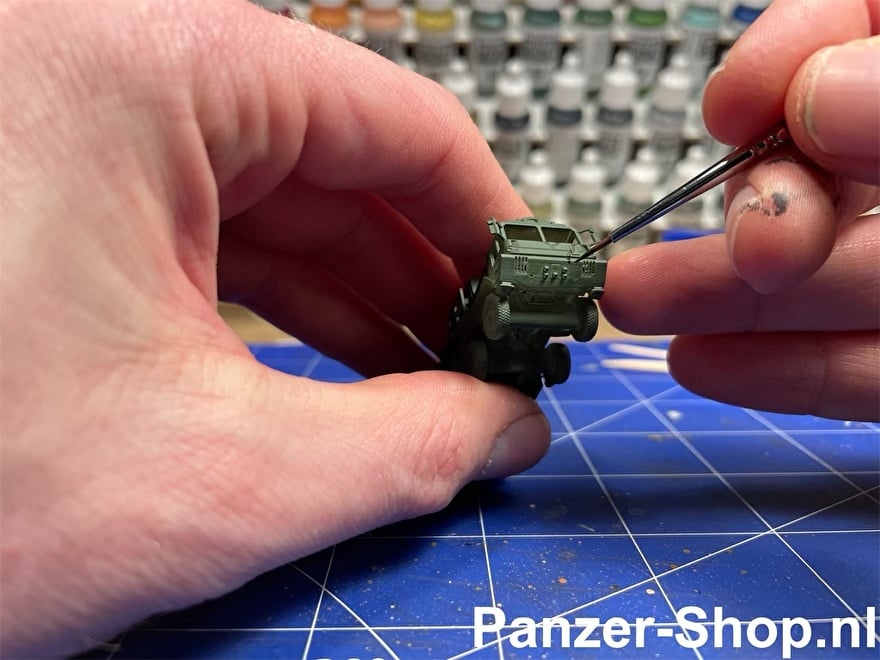
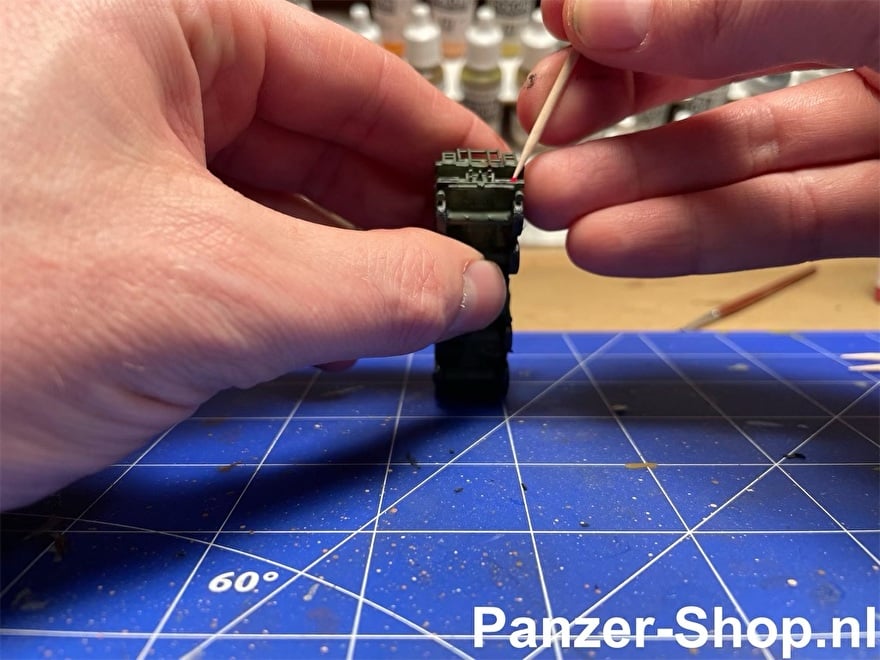
What is most important here is that you keep your hands as still as possible so that you can create beautiful lines the way you want them. The best way to do this is to create as much contact as possible between you and a solid object, the table. Take a look at the photo above. I keep both my palms and the back of the model on the table. Also my left little finger and ring finger are always connected to the table, and if possible my right little finger too. See also how I touch the model with my right ring finger so that everything is in contact with each other. This together ensures that you have as much stability as possible in your hand and that everything moves with each other.
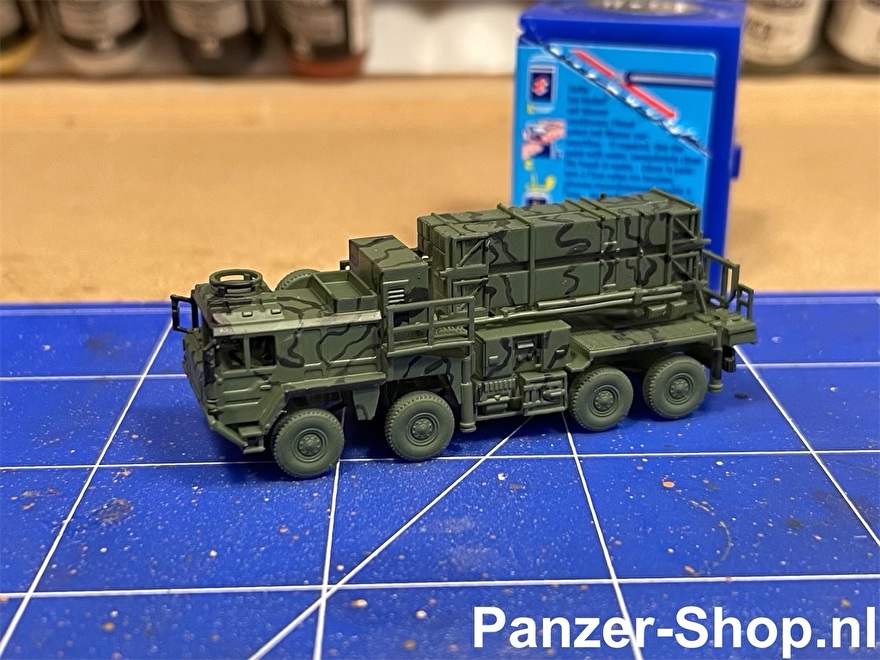
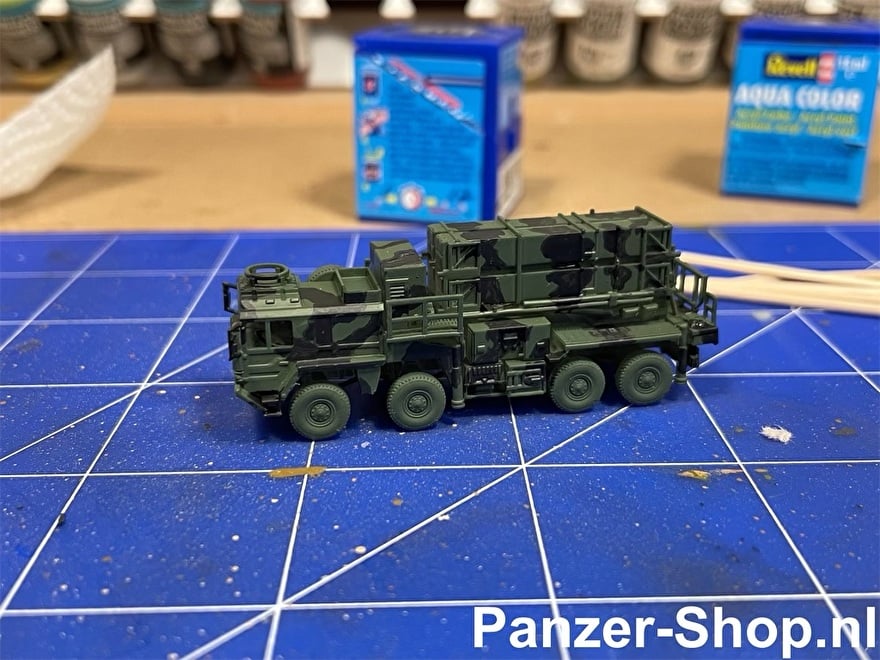
After creating the contours, we fill in the black areas. The advantage of doing the contours first is that you get nice clean lines. You can of course also paint the entire surfaces in one go if you think doing the contours separately is too much work. After this we do the same with brown.
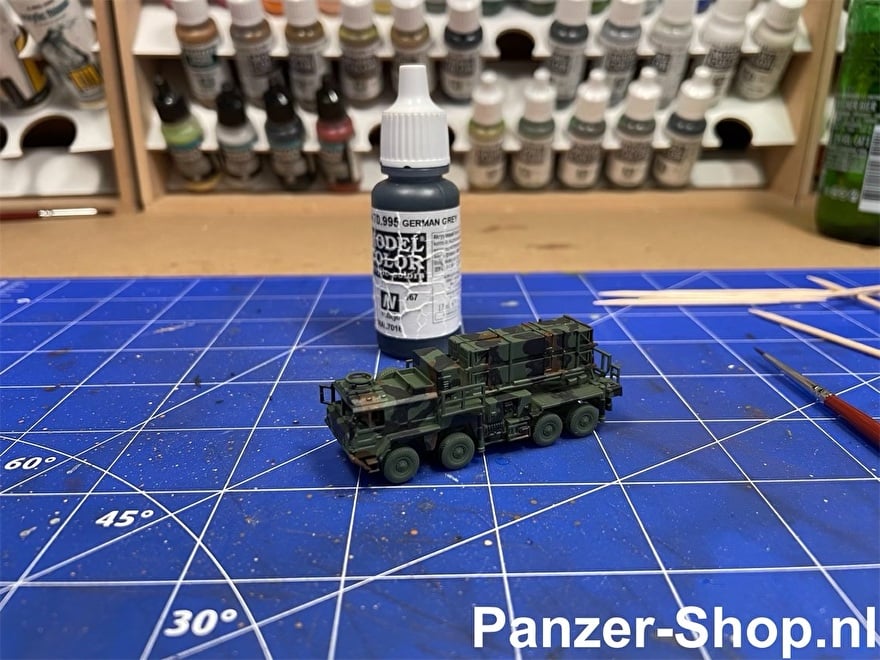
Step 3, Tires and Details:
Now let's move on to the tires. For this I use 70,995 ''German Grey'' from Vallejo. My favorite color for tires, again diluted with water. Slightly less than with the camouflage, it might be better to be a bit firmer so that it runs away less quickly.
Give your hand again as many support points on the table and against the vehicle as possible again. Now you want to hold the model in front of you in a comfortable position. The easiest thing to do now is to make semicircles downwards. Down is seen from you, so paint towards you. The orientation of the model is just how you like it in the hand. This way you can paint very precisely around the rim. Other details such as shovels, chains and other small items can now be beautifully painted. Don't forget the spare tire!
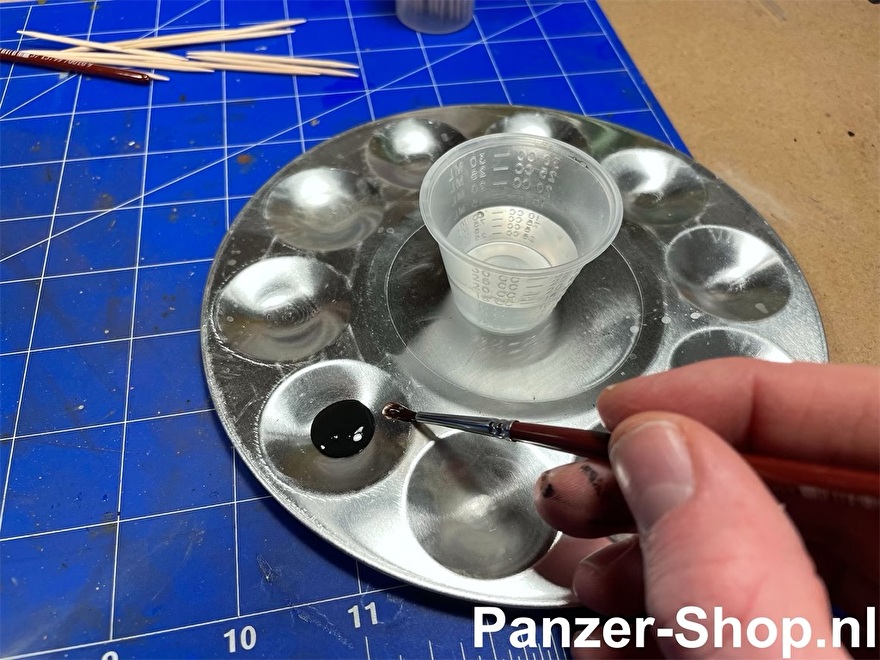
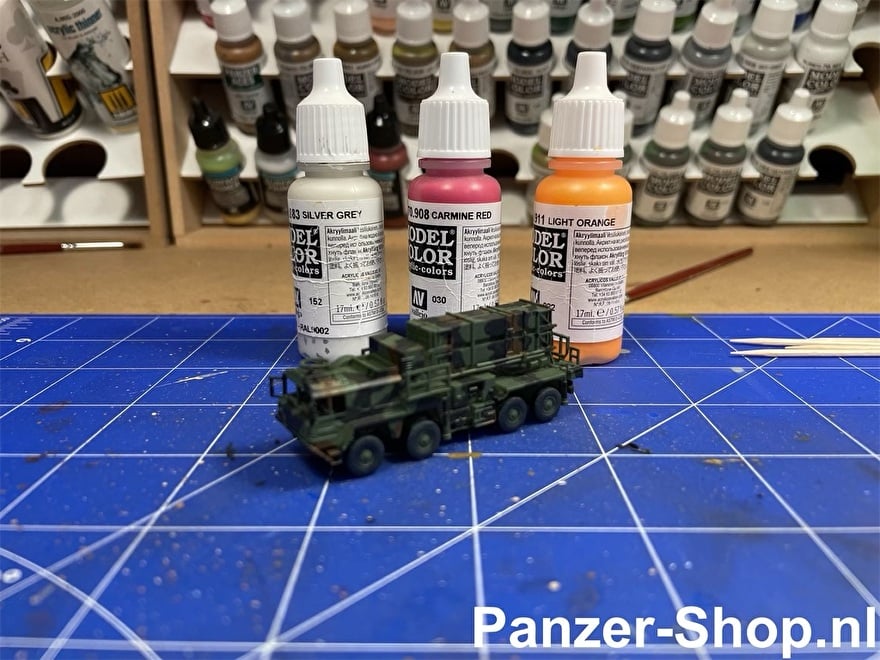
Step 4: Lamps
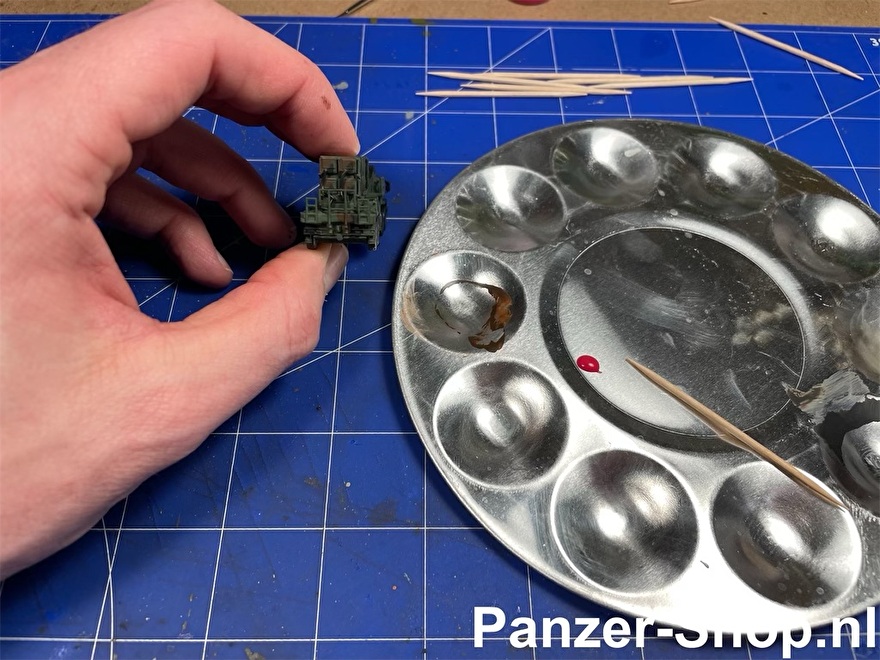
For this I use 70,908 ''Carmine Red'', 70,911 ''Light Orange'' and 70,883 ''Silver Grey'' from Vallejo. I am not diluting this.
You put a small drop of paint on your pallet and take a skewer. You put a very small dot in the paint and then place the tip of the skewer on the model at an angle of 90 degrees. So put it right on. Now you wait 1 second and remove the skewer again. A perfect circle remains, because you put a very small drop on the model, as it were. In the case of a rectangular block, drag your skewer slightly from left to right. You can correct incorrect edges with the dry side of the skewer.
And that was it! A painted model. Now, of course, there are decals, windows and perhaps weathering. If you want to give the model a layer of lacquer, it is best to add the decals first and then give it the lacquer layer. You want to have this done before you make the windows with Microscale Kristal Klear.
I hope this is of some use to you and I hope to see you in the next How-To!
Kevin Boogaard
Founder of Panzer-Shop.nl